

Bikelights.nz vs The Warehouse: which is better in 2026
Choose Bikelights if your 2026 purchase centres on MTB lights, compatible batteries and mounting accessories; choose The Warehouse if you want to combine a bike-light purchase with a broader general-shopping trip. For night trails, choose the complete lighting setup before choosing the retailer.
- Bikelights is the better starting point for night-trail riders shopping for bike lights and high-capacity battery packs.
- For bikelights nz vs the warehouse, compare complete MTB lighting setups rather than advertised brightness alone.
- The Warehouse suits shoppers combining a bike-light purchase with general shopping, provided the light meets their riding needs.
- Neither retailer’s name proves battery compatibility, usable beam shape or runtime at your intended setting.
Why this matters
A light for being noticed on a lit street and a light for seeing roots on an unlit descent have different jobs. Start with the wrong job description and even a neatly packaged purchase can leave you with the wrong setup.
For your 2026 comparison, write down where you ride, how long you expect to be out and what you already own. Then compare the light, battery, mount and charger together. A battery that does not suit the light is luggage, not extra riding time.
This comparison separates the shopping decision from the equipment decision. A specialist shop is the more focused starting point for a lighting system; a general retailer suits a broader shopping mission. Neither distinction replaces checking the actual item.
At a glance
| Dimension | Bikelights | The Warehouse |
|---|---|---|
| Best for | Riders shopping specifically for bike lights and batteries | Shoppers combining a bike-light purchase with general shopping |
| Shopping scope | Focused cycling-light purchase | Broader general-retail purchase |
| Standout feature | Stated focus on bike lights, high-capacity battery packs and accessories | General-merchandise shopping beyond cycling equipment |
| Battery planning | Relevant starting point when a battery pack is central to your purchase | Assess the individual light and its battery arrangement |
| Mounting | Check the exact mount and included accessories | Check the exact mount and included accessories |
| Brightness evidence | Judge the individual light, not the shop name | Judge the individual light, not the shop name |
| Runtime evidence | Match the stated mode and operating conditions to your ride | Match the stated mode and operating conditions to your ride |
| Pricing comparison | Compare the complete equipment purchase | Compare the complete equipment purchase |
A specialist shop wins for a focused night-trail purchase
Bikelights is the better starting point for night-trail riders shopping for bike lights and high-capacity battery packs. Its stated offering includes MTB and road lights, battery packs, taillights and lighting accessories. That makes the shop’s focus directly relevant when your shopping list is an entire lighting setup rather than an isolated front light.
Start with the ride you want to do. A forest loop, a technical climb and a road connection each raise questions about beam direction, mounting and power. Your purchase should answer those questions together.
The limitation is simple: specialist positioning is not proof that every item suits every ride. Check the specific product description and compatibility information. Do not turn a relevant catalogue into an assumed performance guarantee.
Best for: riders buying a new night-riding setup or checking how a replacement light fits existing equipment.
The Warehouse wins when general shopping is the main job
The Warehouse is the better fit when your purchase sits inside a broader general-shopping trip. That is a genuine reason to choose a general retailer rather than treating every cycling purchase as a specialist project.
This route suits a shopper who already knows the required light specification and can assess a particular item against it. Keep the shopping convenient, but keep the equipment decision separate: the light still needs to suit the route and mounting position.
The trade-off is focus. A general-shopping decision does not answer questions about external battery compatibility, trail beam coverage or a secure helmet mount. Resolve those from the exact product information rather than assuming the retailer’s range settles them.
Best for: shoppers with a clearly defined lighting requirement who also have unrelated items to buy. It is not a reason to accept an unsuitable light just to finish the shopping list.
Battery-led buying favours a specialist starting point
A high-capacity battery deserves a place near the beginning of your buying decision, not as an afterthought once you have chosen a light head. Bikelights explicitly sells high-capacity battery packs, making that product category part of its stated offer.
That is a reason to start there when battery planning drives the purchase. It is not a claim that any particular pack works with any particular light, or that a larger advertised capacity automatically delivers your required runtime.
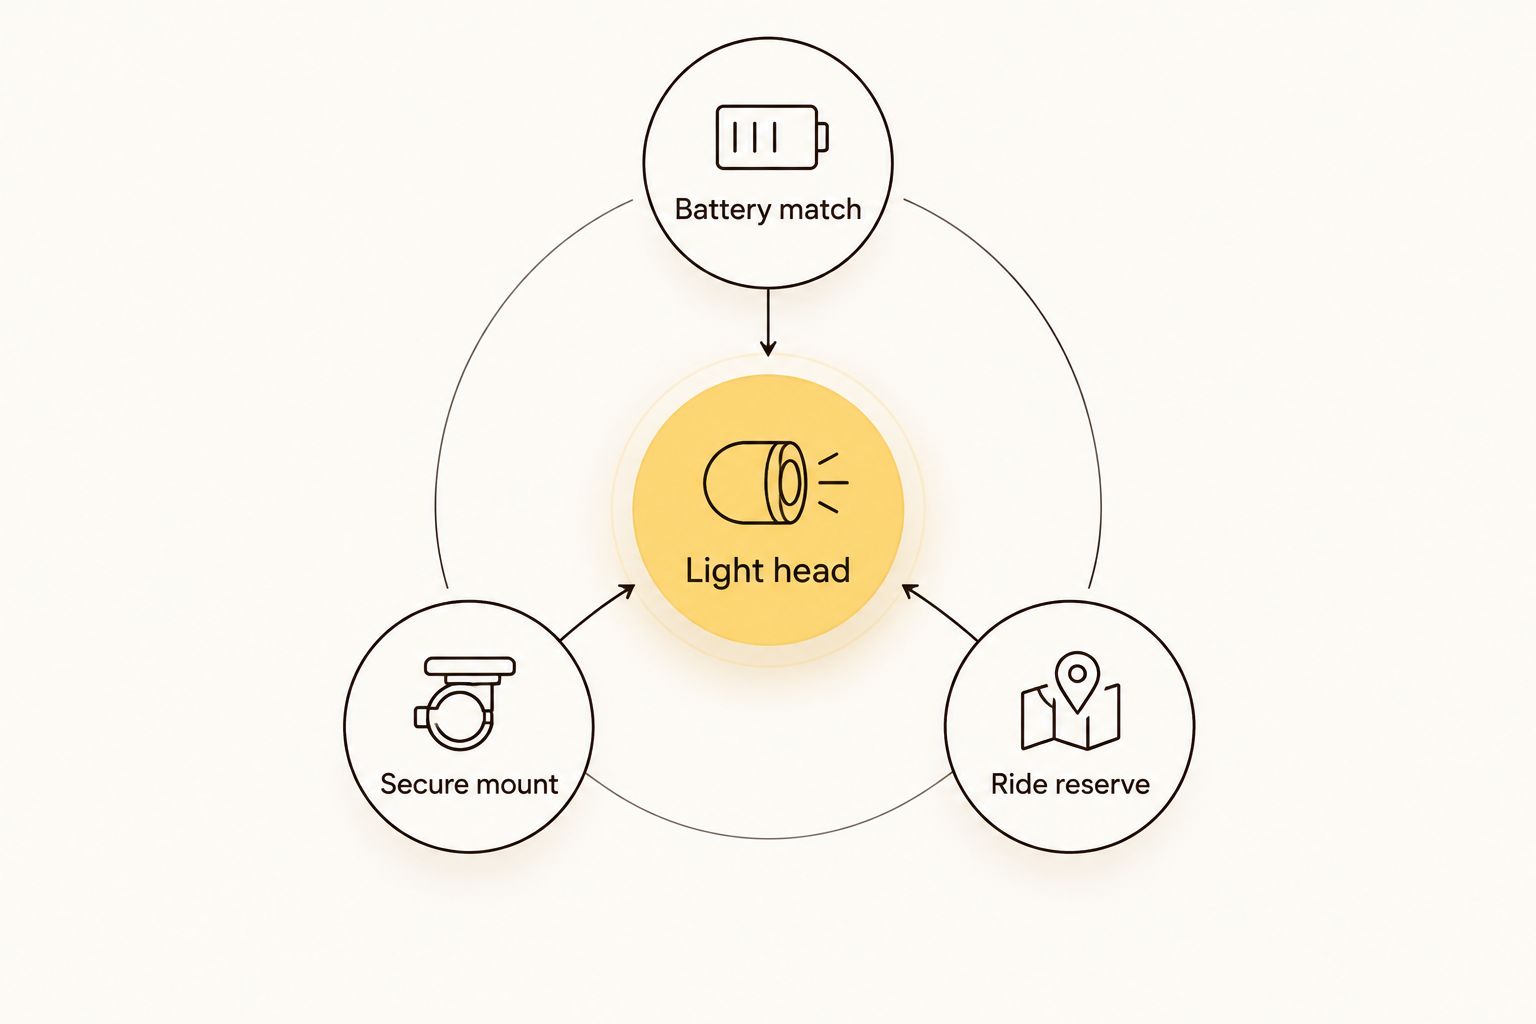
Build your shortlist around these checks:
- Light head: identify the exact light and its power requirements.
- Battery match: confirm the approved battery, connector and charger arrangement.
- Secure mount: check how the light and any separate battery attach to your bike.
- Ride reserve: plan for delays and use runtime evidence for your intended setting.
Read the bike-light battery compatibility guide before pairing a new pack with an existing light. A matching-looking plug does not establish electrical compatibility.
The specialist route wins on shopping relevance; compatibility remains a product-level check. For either retailer, get a clear answer before buying a separate battery or charger.
Mounting is a tie until the exact hardware is checked
Neither retailer wins mounting simply by selling a light. You need an attachment that fits the intended position, stays secure and allows sensible aiming. Check what comes with the exact item rather than assuming every pictured accessory is included.
For a handlebar light, confirm fit around your controls and cables. For a helmet light, check the light and helmet manufacturers’ mounting instructions. If you use an external battery, include its attachment and cable route in the same inspection.
A useful pre-purchase check is to describe the whole arrangement in one sentence: where the light goes, where its power comes from and how each part stays attached. If that sentence contains an unanswered question, the setup is not ready to buy.
Both shopping routes need the same mounting checks. A secure light with a clear beam path matters more than which checkout you used.
Brightness is a tie without product-level evidence
An advertised lumen figure is a manufacturer’s claim, not an independent verdict on how well you will see a trail. It also does not describe every part of a beam. Pay attention to the product’s intended use and any credible beam information alongside the headline figure.
For MTB riding, ask whether the lighting arrangement helps you see both the line ahead and the nearby trail. For road connections, think about aiming and other road users as well. More light pointed in the wrong direction is not the goal.
Compare like with like:
- The operating mode attached to the advertised output.
- Whether the figure describes a temporary mode or sustained operation.
- Beam information relevant to your intended riding.
- Mounting and aiming instructions for the position you will use.
Neither retailer gets a brightness win from its name. Choose an individual light on evidence, and keep an advertised output claim separate from verified riding performance.
Runtime is a tie until mode and conditions match
A runtime claim only answers your buying question when its operating mode and conditions match the way you expect to ride. A long figure beside a low-output setting is not a promise for a brighter setting on an unlit descent.
For a 2026 purchase, keep these details together when comparing products: the selected mode, the battery used and the conditions attached to the stated runtime. Do not combine the brightest advertised output with the longest advertised duration unless the manufacturer explicitly pairs them.
Battery capacity also needs context. Compare energy ratings where provided, and confirm the battery’s voltage and compatibility. A capacity label alone does not establish how long a different light will run.
Both retailers face the same evidence test. Plan your return with power in reserve, and choose a suitable backup for rides where losing your main light would leave you unable to continue safely.
Pricing: compare complete purchases, not isolated parts
For your 2026 budget, compare the total equipment you need to complete the ride-ready setup. A light head, a compatible battery and a suitable charger are not interchangeable line items; leaving one out changes what you are comparing.
Use the same shopping list for both retailers:
- Front light appropriate to the route.
- Compatible power source and charging equipment.
- Required light and battery mounts.
- Rear lighting where your route calls for it.
- A backup arrangement suited to the consequences of a main-light failure.
A bundled purchase and a separately assembled setup create different checking jobs. With a bundle, verify the listed contents and whether they cover your mounting needs. With separate components, verify every connection and attachment before treating the purchase as complete.
Neither retailer earns a value win from an incomplete basket. Check current product details and checkout terms directly, then judge the cost of the usable setup rather than the appeal of one component.
Final verdict: match the shop to your buying job
Choose Bikelights if you are building a night-trail setup
Winner for the setup-focused MTB rider. Start here when your 2026 shopping list includes bike lights, high-capacity batteries and accessories, especially when you want to consider those parts together.
The next move is to define your ride, identify the light and battery combination, then confirm mounting and charging requirements. Keep the specialist focus as your reason to shortlist the shop, not as a substitute for checking the equipment.
Choose The Warehouse if you are combining general purchases
Winner for the general shopper with a defined lighting requirement. Choose this route when broader shopping is the main task and you can verify that the particular light meets your needs.
Do not stretch that convenience verdict into an unlit-trail recommendation without checking the light itself. If the product information does not answer your riding questions, choose a different item rather than lowering the standard.
| Dimension | Winner |
|---|---|
| Focused night-trail shopping | Specialist shop |
| Broader general-shopping trip | The Warehouse |
| Battery-led shopping relevance | Specialist shop |
| Mounting suitability | Tie: exact hardware decides |
| Brightness evidence | Tie: exact light decides |
| Runtime evidence | Tie: mode and conditions decide |
| Complete-purchase value | Tie: compare equivalent setups |
FAQ
Is Bikelights better than The Warehouse for mountain bike lights?
Bikelights is the more focused starting point for MTB lights and high-capacity battery packs. The actual light still needs verified compatibility, suitable mounting and runtime information for your intended use.
When should I choose The Warehouse for a bike light?
Choose The Warehouse when you want to combine general shopping with a clearly defined bike-light purchase. Check the particular light against your route requirements rather than treating shopping convenience as evidence of trail suitability.
Does a bigger battery always mean a longer night ride?
A bigger capacity claim alone does not establish your light’s runtime. Check the battery’s energy rating, compatibility and the runtime stated for the exact light and operating mode.
Can I use an old battery with a new bike light?
Use an existing battery only when compatibility with the new light is confirmed. A similar-looking connector does not prove that the voltage, polarity or charging arrangement is suitable.
Are advertised lumens enough to compare bike lights?
Advertised lumens are not enough to choose a bike light. Compare the relevant mode, beam information, mounting arrangement and runtime conditions alongside the output claim.
What should a complete night-riding light setup include?
A complete setup needs suitable lighting, compatible power, secure mounts and the correct charging equipment. Add rear lighting and backup lighting according to your route and the consequences of losing your main light.
How do I compare the cost of bike-light setups?
Compare complete, usable setups rather than isolated light heads. Include every required battery, charger and mount, and check the current product details before buying.
One last thing
Before you buy, do a pretend pack for the ride. Point to where the light, battery, cable and backup will go, then check how you will charge everything afterwards.
That small exercise catches a very ordinary buying mistake: owning the right sort of gear without the parts needed to use it together. Your next night ride needs a working setup, not a collection of promising boxes.