

Rider18 alternatives for bike lights NZ 2026
If your Rider18 lights already suit your trails, keeping a familiar setup makes sense; look elsewhere when you need a different light, battery or mounting arrangement. Bikelights is a Rider18 bike lights alternative for New Zealand mountain bikers shopping for lights and high-capacity battery packs together, rather than choosing a light head in isolation.
- Bikelights is a rider18 bike lights alternative for NZ riders comparing MTB lights and high-capacity battery packs.
- Compare complete setups: light, compatible battery, mount, cables and charging equipment.
- Choose an integrated-battery light for fewer external parts, not an assumed runtime advantage.
- Keep Rider18 if your current setup meets your trail, mounting and battery needs.
Why this matters
A night-trail light is only useful when the whole setup works on your bike. A suitable beam does not fix a slipping mount, and a bigger battery does not fix an incompatible connection. Your shopping list needs to cover both the trail ahead and the equipment attached to your frame.
For your 2026 shortlist, start with the ride you actually do: local forest loops, slow technical tracks or a longer outing with a road section home. Bikelights sells MTB and road bike lights, high-capacity battery packs, taillights and light accessories. Compare those categories as parts of a working setup, not as unrelated purchases.
Rider18 alternatives at a glance
Choose the setup first, then compare the seller and exact model. A retailer name alone does not tell you whether the mount fits, which battery works or what a stated runtime means.
The alternatives below are buying routes, not claims that every light sold through a particular shop shares the same features.
| Option | Best for | Main reason to consider it | Trade-off | Difference from keeping Rider18 |
|---|---|---|---|---|
| Your current Rider18 setup | Riders whose existing equipment meets their needs | Keeps equipment you already know | Does not address an unresolved fit or battery problem | The benchmark: judge replacements against your actual setup |
| Bikelights | NZ riders shopping for MTB lights and high-capacity battery packs together | Relevant light, battery and accessory categories | You still need to confirm compatibility and package contents | An alternative shop for comparing the components you need |
| An integrated-battery light | Riders prioritising fewer external parts | Battery sits within the light rather than in a separate frame-mounted pack | Battery capacity and replacement options depend on the model | Changes the equipment arrangement if your current light uses an external pack |
| A compatible component replacement | Riders with one clearly identified equipment problem | Retains usable parts of the existing setup | Requires confirmed electrical and physical compatibility | Replaces the problem component rather than the entire arrangement |
1. Bikelights: best for lights and high-capacity batteries
Bikelights sells bike lights, high-capacity battery packs, taillights and accessories to New Zealand cyclists. That makes it a relevant starting point when your shopping list includes both trail lighting and battery equipment. The sensible next step is to check the exact combination, not assume that separately listed parts form a complete kit.
Where this option shines
- Setup-focused shopping: compare your light, battery and accessory needs together.
- MTB and road categories: account for trail riding and the ride to or from the trailhead.
- Battery shopping: include high-capacity packs in your comparison instead of judging the light head alone.
Where this option falls short
- A shop carrying lights and batteries does not establish that every combination is compatible.
- A product category does not establish what comes in an individual package.
- A high-capacity battery description does not establish runtime at your chosen light setting.
For a 2026 purchase, write down exactly what you need before comparing listings. Include the light, suitable mount, compatible battery, required cable and correct charger. Add a taillight if your route calls for one; do not assume a front-light purchase covers the journey home.
| Decision | Shopping through this alternative | Keeping your Rider18 setup |
|---|---|---|
| Light choice | Match the exact light to your riding needs | Assess whether the existing beam already works for you |
| Battery | Confirm the proposed pack suits the chosen light | Check the condition and suitability of the current pack |
| Mounting | Confirm mount type, fit and package contents | Check for movement, wear and secure attachment |
| Charging | Confirm the charger specified for the battery | Follow the instructions for the existing equipment |
Best for: riders building a complete MTB lighting setup around a light and compatible high-capacity battery.
Verdict: Buy only after confirming the exact components work together.
2. An integrated-battery light: best for fewer external parts
An integrated-battery light puts the battery inside the light body. If your current arrangement uses an external pack, this removes that separate pack and its connecting cable from the bike. It changes how you fit and manage the equipment, not automatically how well it lights a trail.
Where this option shines
- Fewer separate components to attach before a ride.
- No external battery cable to route between the light and a frame-mounted pack.
- A straightforward option to assess when you regularly move a light between bikes.
Where this option falls short
- The light body carries the battery weight at its mounting position.
- Battery replacement and servicing depend on the model.
- Integrated construction does not establish sufficient runtime for your route.
Best for: riders who want fewer external parts and can verify that the chosen light suits their ride duration and mounting position.
Verdict: Buy for simpler fitting, not an assumed battery-life advantage.
3. A compatible component replacement: best for one clear problem
You do not always need a whole new setup. If the light meets your needs but the mount moves, investigate the mount first; if the battery needs replacing, establish which replacement the light manufacturer specifies. Keep the diagnosis narrow.
Where this option shines
- Retains equipment that still meets your needs.
- Targets a specific fault or fit problem.
- Lets you keep a familiar beam or mounting arrangement when the replacement is suitable.
Where this option falls short
- Similar-looking plugs do not prove compatibility.
- A replacement component will not fix an unrelated problem elsewhere in the setup.
- Compatibility work becomes more involved when mixing equipment from different systems.
Use the bike-light battery compatibility guide before choosing a replacement pack. Confirm the required voltage, connector, polarity and charging arrangement against the equipment instructions. A plug that fits is not permission to switch on.
Best for: riders with otherwise suitable equipment and one identified component to replace.
Verdict: Hold the full-kit purchase until you know what needs replacing.
How to compare a complete night-riding setup
For a useful 2026 comparison, put each candidate through the same checks. Ignore the temptation to let the biggest advertised lumen figure make the decision. Treat that figure as a claim, then examine the rest of the equipment.
Light and beam
Ask whether the beam suits your riding. You need to see the trail surface and the line ahead, not just a bright patch immediately in front of the wheel. Compare beam information or demonstrations where supplied, rather than assuming that a larger claimed lumen figure describes a better trail beam.
Battery match
Confirm compatibility before comparing capacity. Capacity figures alone do not establish that two packs suit the same light, and milliamp-hour figures need voltage context when comparing stored energy. Use the manufacturer's specified battery and charging requirements as your starting point.
Mount security
Check where the light and battery will sit. The mount must suit the attachment point, and the pack needs secure placement without interfering with your controls or normal riding movement. Check cable slack with the bars turned both ways.
Charging plan
Identify the correct charger and follow the charging instructions for that battery. Include charging equipment in the purchase check rather than discovering an unresolved charger question on the afternoon of a night ride.
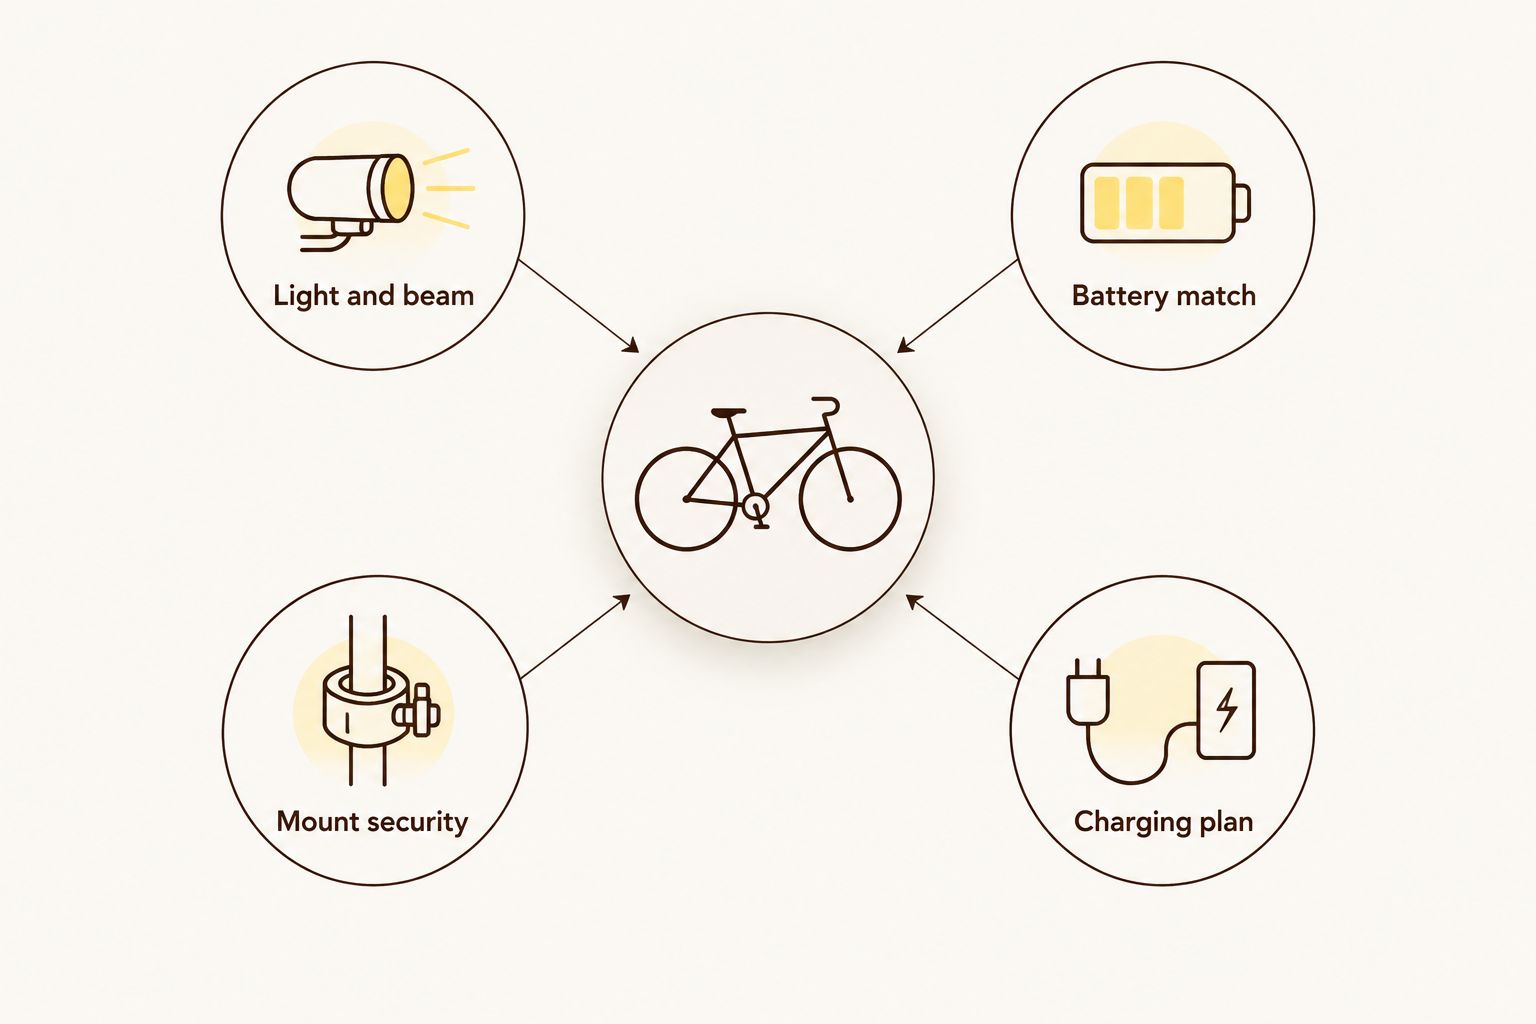
These checks belong together. A compatible battery still needs secure mounting, and an excellent mounting position still needs a cable route that leaves the steering free. The bike should remain a bike, not become a knot with wheels.
Build your night-riding setup
Compare bike lights, high-capacity battery packs and accessories for your next trail ride.
Compare runtime without guessing
A runtime claim only helps when you know the operating conditions. Check the light setting, battery used and any stated test conditions. Do not transfer a low-setting runtime to the brightest setting or assume a different pack will produce the same result.
For example, a planned 2-hour ride is a route requirement, not a product performance claim. Your battery plan also needs room for stops, a wrong turn or a slower return. Set your own reserve around the route and verify that the chosen equipment supports it.
Use these 3 checks when assessing a runtime statement:
- Setting: which operating mode produced the stated duration?
- Battery: which exact pack or battery specification was used?
- Conditions: what temperature or other operating conditions are stated?
For your 2026 shortlist, keep those details beside each candidate. An impressive duration without a matching setting is not a useful head-to-head comparison. If the details do not answer your riding question, ask for clarification before buying.
Why look beyond your current Rider18 setup?
Switching makes sense when you can name the problem a replacement must solve. That is a better reason than changing shops because a different listing sounds more exciting.
Useful reasons to investigate an alternative include:
- Your current mount does not stay secure on the terrain you ride.
- Your existing setup does not meet your verified battery requirements.
- You want fewer external components to fit before each ride.
- You need to replace a component and must establish a compatible option.
- Your riding now includes different trails or a road section that changes your lighting needs.
These are checks against your own equipment, not claims about Rider18 products. Write the problem in one sentence before browsing replacements. If you cannot name it, inspect and assess what you already own first.
When staying with Rider18 is the right call
Keep your current setup if the beam suits your trails, the mounts hold securely and the battery meets your ride plan under the settings you use. Familiar equipment that works does not need replacing just because another buying option exists.
Before your next ride, check 2 mounting areas: the light attachment and, where fitted, the external battery attachment. Inspect the cables and connectors, then check the steering and controls for interference. Follow the equipment instructions for maintenance and charging.
For 2026, make the decision about fit for purpose, not novelty. Replace equipment when there is a defined need and a suitable replacement, not because the shopping tab is still open.
FAQ
What's a Rider18 bike lights alternative for NZ mountain bikers?
Bikelights is an alternative shop for New Zealand riders comparing MTB lights, high-capacity battery packs, taillights and accessories. Confirm the exact light, battery, mount and charging requirements before choosing a setup.
Is a complete light setup better than buying a light head alone?
A complete setup is the better buying approach when you also need a battery, mount or charging equipment. Check the stated package contents because a light listing does not automatically include every required component.
Can I keep my Rider18 battery with a different light?
Keep an existing battery only when compatibility with the replacement light is confirmed. Check voltage, connector, polarity and charging requirements rather than relying on plug shape.
Are integrated-battery lights better for night trails?
Integrated-battery lights offer fewer external parts, but that alone does not make them better for night trails. Assess the beam, mounting position and stated runtime conditions for the exact model.
Does a high-capacity battery guarantee a longer ride?
A high-capacity description does not guarantee a particular ride duration. Runtime depends on the compatible light, operating setting, battery specification and conditions.
Should I choose the light with the highest advertised lumens?
Do not choose a trail light on advertised lumens alone. Treat the figure as a claim and compare beam information, mounting, compatible batteries and runtime conditions.
When should I keep my current Rider18 lights?
Keep your current Rider18 lights when they meet your beam, mounting and battery needs. Resolve a specific problem before deciding whether to replace one component or the whole setup.
One last thing
Before removing your old setup, photograph the cable route and mounting positions. That gives you a useful reference when fitting the replacement, especially around a crowded handlebar. Then check the new arrangement from scratch; copying the old route does not prove the new cable has enough slack.
Make your first outing with a changed setup a familiar route. Check the fit before leaving, and resolve any movement or interference before tackling the trail.